
Plant labels are perfect for keeping the garden beds in order. (Is that yellow summer squash, or zucchini? Now you know for sure!) But they don’t have to be boring. These labels are a colorful way to delineate the garden, and keep a sense of childlike wonder in all your grow beds.

Let’s Make Some Plant Labels!

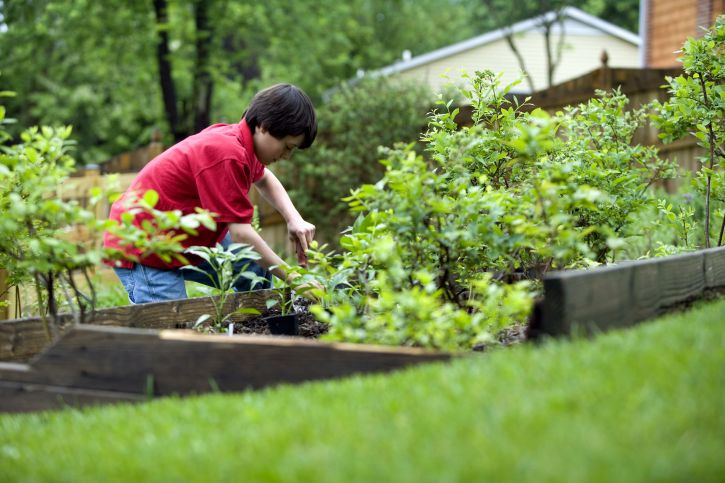
Gardening with kids is one of the best ways to enjoy the summertime. Whether you’re a newbie gardener, or you’ve been tending plants for 40 years, including kids in the fun is energizing and inspiring. Furthermore, kids make everything around them fresh, new, and exciting.
Digging in the soil, sowing seeds, weeding, watering, and harvesting are all great outdoor gardening activities to do with children. With a little bit of guidance, even the youngest gardeners can weed and tend plants with care. But when the skies are cloudy and the winds are howling, it’s better to find indoor projects instead.
On stormy days, nothing beats a little indoor creativity. Gather the kids together and make plant labels for your garden bed. In addition, this easy, colorful project lets your kids bring order and art to the garden.
Let’s get started!
Overview
Ok, here’s the plan: we’re going to make plant labels by drawing a picture of each plant. Then, we’ll color them in, cut them out, laminate them, and tack them to garden stakes.
This project is basic, colorful, and there’s something for all ages! Very young kids can color in the drawings, while older kids can help in all stages. Best of all, your garden will look like a joyful, friendly place where children play among the flowers.
1. Gathering Materials
We’ll be making colorful, plant-picture labels, so make sure you have plenty of construction paper and either crayons or markers.
You’ll also need a pencil or two, a sharpie-marker, scissors, and a laminator. Don’t forget to laminate your labels before you put them outside!
You’ll also need thin splints of wood to secure your labels into the soil. Then, gather up some tacks to attach your labels and you’ll be ready to go.
2. Getting Started

Once you have all your materials, gather your children together and let’s get started.
I like to have some reference pictures nearby, especially if kids are drawing the pictures of each plant. It’s much easier to draw a plant if you can see what you want the end product to look like! Check out Rainy Day Mum’s tutorial here for inspiration.
Remember to be gentle with the kids as they draw. You can always write the name of the plant on the drawing, and it’s more important to encourage creativity and engagement. You want your kids to have fun and to make something they’re proud of.
If you’re working with very young children, they might love a very abstract-looking radish. If you’re not sure you can distinguish between your 3-year old’s radish and his tomato, add the name. But don’t diminish his joy by criticizing his drawing.
If you’re not into abstracts at all, try this alternative:
Alternative:

Maybe no one feels confident in their drawing abilities. Or perhaps you’re not excited about the careless coloring your child tends to indulge in.
That’s okay! You can make little mixed media plant labels by cutting out pictures from gardening magazines and using glue (or Modge-Podge) to attach them to the label.
You can even Modge-Podge them directly onto the little stakes. Once the adhesive dries, they’ll will be waterproof. This is an extremely simple and forgiving way to make plant labels with your youngest gardeners.
Nota Bene:
Modge-Podge is a brand of adhesive that’s sold at craft stores. It’s a great product, but you don’t need to buy it. I’ve made an equally effective substitute with regular, white, craft glue.
Just mix about 2 parts craft glue with one part water. If you’re worried about mildew, you can add a couple drops of tea tree essential oil as well. This mixture works just as well as modge-podge in my experience. Furthermore, it’s a lot less expensive, and easier to find. Give it a try.
Okay, back to the drawings

Don’t try to make detailed, intricate botanical drawings, here. Just sketch a big outline in pencil and then trace over it with the sharpie.
Once you and the kids have drawn your veggies, it’s time to hand out the crayons and get coloring. After all, coloring is fun, and is a great chance for the kids to play around with the look of their signs.
Some children may want red tomatoes and orange carrots, but others will want blue tomatoes and pink lettuce. That’s okay, variety is a joy. Let them color freely!
Once all the coloring is done, it’s time to cut out the veggies. That’s why we drew simple outlines instead of intricate plants. Older kids are great at cutting out these images, so give them a chance to show their skills.
3. Laminating
If you don’t have a laminator, you can use the Modge-Modge method to attach your plant labels to their stakes. Just glue the paper to the stake and then paint a couple layers of glue on top of the drawing.
The glue will protect your label from the weather, and can last through a whole season of rain and sun. If you paint another coat of glue on top before packing them away for the winter, you should be able to use these plant markers for years to come.
Laminating will last a bit longer, though. If you have a laminator, process each of your drawings to keep them safe and strong. Your grown-up children will love looking back on their little labels from long ago!
When each label is safely coated, tack them to their stakes. I like to just use one tack, at the top, so they can flutter a bit in the breeze. My kids like to think of them as little flags.
4. Attaching Your Labels

Whether you use tacks or glue to attach your homemade labels to their stakes, make sure they’re very secure. Weather can get wild, and you definitely don’t want a little tomato label to go flying off into the woods.
Fun Options:
You can change things up a bit by gluing your veggie images to a rectangular sheet of paper, writing the name on top and laminating the whole piece. Then, tack into the stake along the side and let it wave as a real little flag.
Alternatively, you can punch a little hole at the top of your plant label. Then loop a length of twine through it and hang the label on a fence post, garden stake, or even around the stems of taller plants. These “necklace plant labels” are fun on tomatoes, cucumbers, and squashes. In contrast, they don’t work well on lettuce, radishes, or carrots.
If you’re hoping to attract more songbirds to the garden, make necklace labels, then hang them on bird feeders. You can set a tall bird feeder on a post beside each garden bed and hang a label from each post.
This is an especially fun option if you’re labelling pollinator flower beds, since bees and birds love a lot of the same flowers. If you’re lucky, you’ll end up attracting some hummingbirds as well.
Usage Labels

If you’re making labels with older kids, try expanding the project a bit. Make labels for your herbal or flower gardens: each label can have a little picture of the plant’s use. For example, color a cup of tea for chamomile. Alternatively, draw a little bee stinger for plantain, or a head resting on a pillow for lavender.
Try reading some fairy tales first and invite your older kids to draw the fairy they think might like each flower. Or let young children smell each plant and then pick a color to match the scent of each plant. This is a great option for kids who aren’t confident at drawing.
There are so many options here, so encourage your kids to get creative. I guarantee they’ll find some great images for your herb garden.
An extra tip: with usage labels, it’s definitely a good idea to include the name of the plant somewhere. It’s easy to get confused by these labels if they don’t have their name on them.
Expanding the Project

Once you get started, you may want to branch out to make labels for the whole yard. Do you have chickens or ducks? Label the coop. Do you have a compost bin? Go ahead and make up a label for it. Fruit trees are practically begging for labels, especially if you have pears and apples in the same orchard.
If your kids are studying a foreign language, you can work up some labels in Spanish, French, or Latin. There are so many ways to keep this fun, creative project going. Give it a try—I bet that you can find plenty of other ways to make this project your own!
If the spring and summer are looking rainy, but you want to keep the kids enthusiastic about gardening, this little label-making adventure could be just what you need.